This article will show you how to setup email on your iOS 7 based device. These settings will work on your iPhone, iPod Touch or iPad. While the screen shots are from an iPhone running iOS 7 the same settings should work on any iOS device.
Have the following details ready before you start:
- Your domain name
- Your email address
- Your email password
How to configure your iOS device
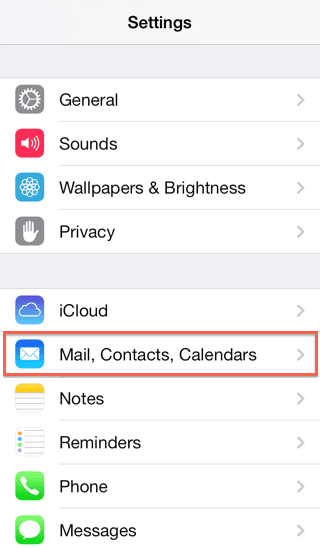
- Go to Settings
- Tap Mail, Contacts, Calendars

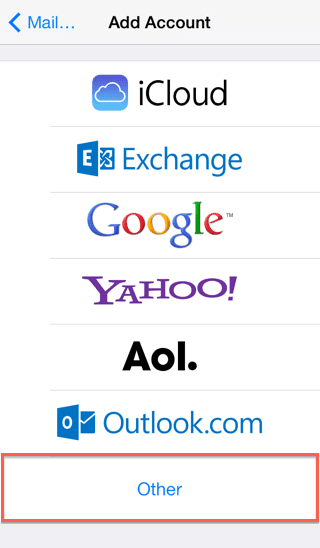
- Add Account
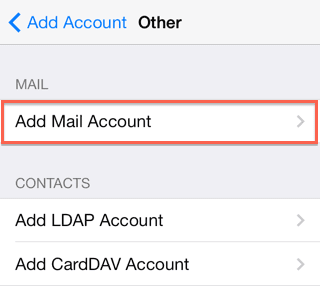
- Choose Other
- Add Mail Account

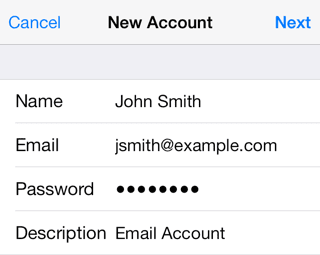
- You will go to New Account Information Set up page

- Enter your Name
- Enter your email address.
- Enter the password for your email address
- Tap Next
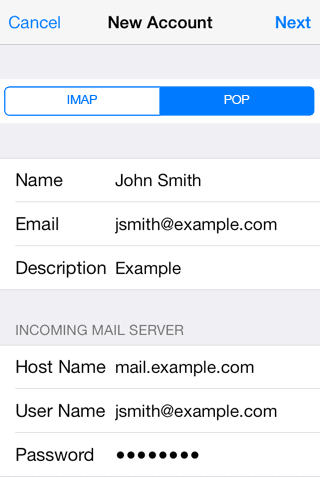
- Select POP

- Under the Incoming Mail Server Section
- Host Name: Your incoming mail server is mail.yourdomain.com replacing yourdomain.com with your own domain url.
- Enter your full email address as the User Name.
- Enter the password for your email address
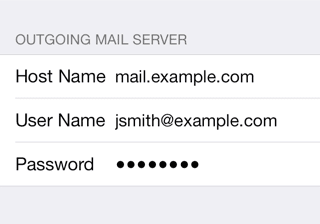
- Under the Outgoing Mail Server Section. Although iOS may indicate these fields as optional, please enter your full email address and password

- Host Name: Outgoing Mail Server is the same as your incoming mail server.
- Enter your full email address as the User Name.
- Enter the password for your email address
- Tap Next.
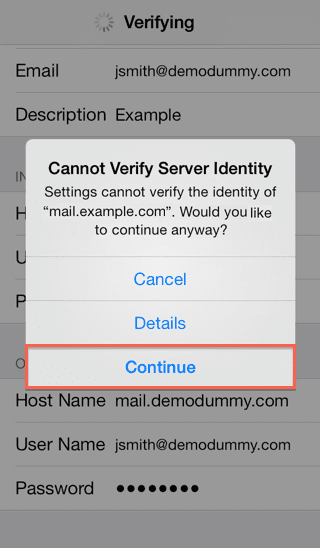
- A pop up might show: Cannot Verify Server Identity. The reason this is prompted is because SSL is enabled in iPhone mail setting. You can just ignore it.
- Simply click Continue.
Your IOS Device (iPhone, iPad) is now configured to send and receive email using your E-mail address.